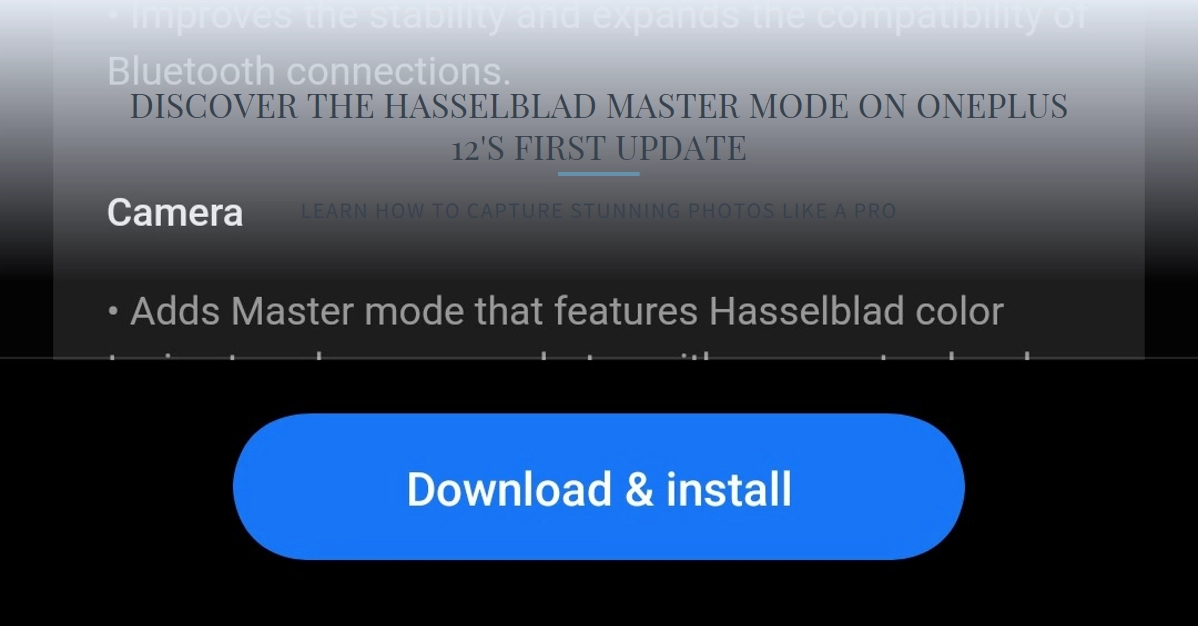
The OnePlus 12, already a photography powerhouse, just received a major upgrade with the arrival of Hasselblad Master Mode. This new feature, previously exclusive to the “Pro” line, grants you unparalleled control over your photos, empowering you to capture stunning, professional-grade images with the tap of a finger.
But how does it work, and how can you leverage its power to elevate your mobile photography game? Buckle up, because we’re diving deep into the world of Hasselblad Master Mode on the OnePlus 12.
Demystifying Hasselblad Master Mode: A Hands-on Guide
Hasselblad Master Mode isn’t just about throwing fancy filters on your photos. It’s a complete overhaul of the capture process, giving you precise control over the very essence of your image. Here’s a breakdown of its key features:
- Pre-Capture Adjustments: Forget about editing later. Master Mode lets you fine-tune parameters like saturation, contrast, sharpness, and vignette before you even press the shutter. This means you see the final result live on your screen, allowing for precise adjustments and eliminating the need for post-processing guesswork.
- RAW Capture: For those who crave ultimate control, Master Mode offers RAW capture. This uncompressed format preserves every bit of data from the sensor, giving you maximum flexibility for editing in professional software like Adobe Lightroom.
- Color Calibration: Hasselblad’s renowned color science comes to the OnePlus 12. Master Mode unlocks vibrant, natural tones that capture the essence of your scene, whether it’s a sun-drenched beach or a bustling city street.
- Manual Controls: Want to go full-on pro? Master Mode lets you dive into manual settings like ISO, aperture, and shutter speed. This gives you complete control over light and exposure, perfect for capturing challenging lighting situations or achieving specific artistic effects.
A Step-by-Step Guide to Using Hasselblad Master Mode
Ready to unleash your inner photography maestro? Here’s how to get started with Hasselblad Master Mode on your OnePlus 12:
- Open the Camera app.
- Swipe right on the screen until you see “Master” appear. Tap it to activate the mode.
- Adjust the sliders for saturation, contrast, sharpness, and vignette to your liking. You can see the live preview update in real-time, making it easy to find the perfect balance.
- For RAW capture, tap the “RAW” icon in the top left corner.
- If you want to delve into manual controls, tap the “M” icon. This will give you access to adjust ISO, aperture, and shutter speed.
- Compose your shot and press the shutter button. Capture stunning, professional-quality images with ease!
Tips and Tricks for Mastering Master Mode
Now that you know the fundamentals, let’s explore some advanced techniques to truly master Master Mode:
- Experiment with different color profiles: Master Mode offers various color profiles, each with its own unique tonal character. Try the “Natural” profile for everyday shots, or the “Vibrant” profile for landscapes and cityscapes.
- Use the histogram: The histogram in Master Mode shows you the distribution of tones in your image. This is helpful for ensuring you’re not overexposing or underexposing your shots, especially when using manual controls.
- Focus peaking: This feature highlights in-focus areas with a colored overlay, making it easier to achieve precise manual focus, especially in low-light conditions.
- Don’t be afraid to play: Master Mode is all about experimentation. Don’t be afraid to push the sliders to their extremes and see what creative results you can achieve.
A Shift in Photography Philosophy
Hasselblad Master Mode isn’t just a new camera feature; it’s a shift in photography philosophy. It empowers you to take control, to be intentional about your shots, and to capture the world exactly as you see it. With its intuitive interface and powerful tools, Master Mode makes professional-quality photography accessible to everyone, regardless of skill level.
So, grab your OnePlus 12, embrace the power of Hasselblad, and start capturing images that truly tell your story.
Updating Your OnePlus 12: A Step-by-Step Guide
The OnePlus 12 packs a punch with its powerful specs and innovative features, and staying up-to-date with the latest software is crucial for maximizing its potential. The good news is that updating your OnePlus 12 is a straightforward process that can be done in just a few easy steps.
Here’s how to update your OnePlus 12:
1. Connect to Wi-Fi: Updating your phone over Wi-Fi is recommended as it’s faster and more reliable than using your mobile data.
2. Head to Settings: On your OnePlus 12, tap the Settings icon on the home screen or app drawer.
3. Navigate to System: Scroll down and tap on System.
4. Find System Update: Look for the System update option and tap on it.
5. Check for Updates: Tap on Check for updates. Your phone will scan for available updates.
6. Download and Install the Update: If an update is available, you’ll see a download button. Tap on Download and install.
7. Wait for the Download to Complete: The download may take some time depending on your internet speed and the size of the update.
8. Install the Update: Once the download is finished, tap on Install.
9. Restart Your Phone: Your phone will restart automatically once the update is installed.
10. Check the Update Version: After your phone restarts, you can head back to Settings > System > System update to see the new version number listed.
Congratulations! Your OnePlus 12 is now up to date with the latest software. This ensures you have the newest features, bug fixes, and security patches.
Additional Tips:
- It’s recommended to back up your data before updating your phone, just in case.
- Make sure your phone is plugged in or has sufficient battery life (at least 50%) before starting the update process.
- Don’t interrupt the update process once it starts.
By following these simple steps, you can easily keep your OnePlus 12 up-to-date and enjoy the latest software experience.
I hope this guide helps! Let me know if you have any other questions.

