Losing precious memories captured on your iPhone can feel like a punch in the gut. Whether you accidentally deleted photos, experienced unexpected software glitches, or encountered iCloud sync issues, seeing those cherished moments vanish is heart-wrenching. But breathe easy! Before you resign yourself to a life without that sunset selfie or family reunion photo, know this: there’s hope!
This comprehensive guide will walk you through every step of recovering your missing iPhone photos, from the simplest solutions to advanced troubleshooting techniques.
Let’s embark on this photo rescue mission, exploring various methods to potentially recover your lost iPhone photographs.
Important Note: Actual steps and menu options may vary between device models, firmware versions and carriers. To ensure all key features and settings are accessible, keep your iPhone software updated.
1. Reclaim the Recently Deleted
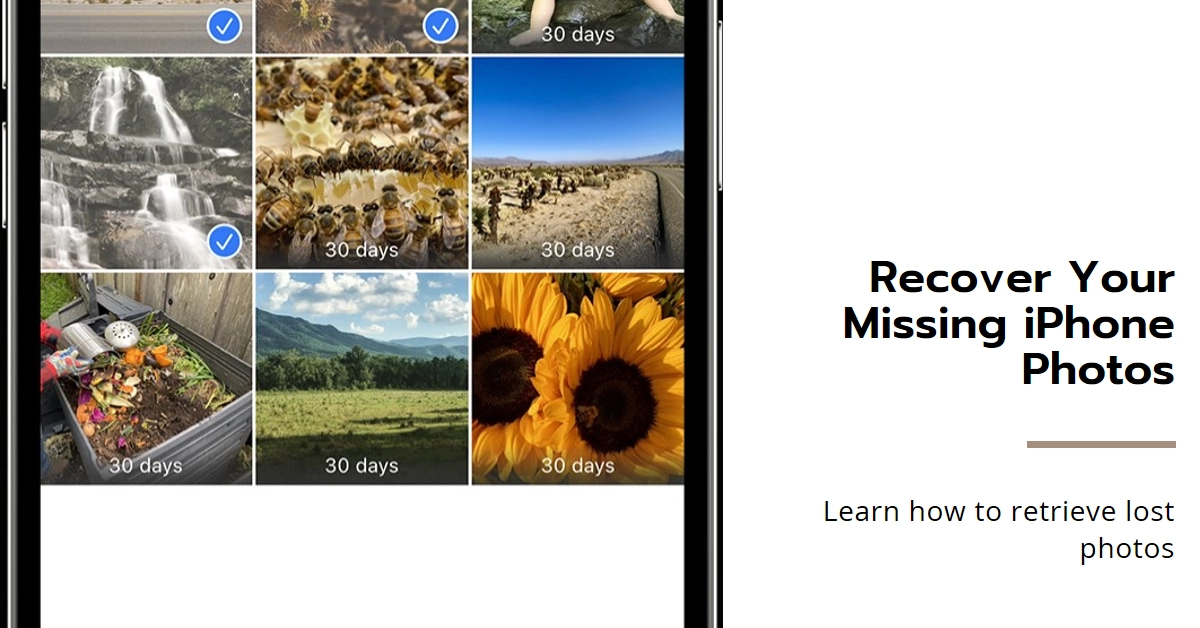
The most common pitfall for missing photos is the “Recently Deleted” album. This temporary holding cell stores deleted photos for 30 days before permanent erasure. So, if you suspect a recent slip of the finger, here’s your first line of defense:
- Open the Photos app on your iPhone.
- Scroll down to the “Albums” section and tap “Recently Deleted.”
- Browse through the photos and videos. Identify your lost treasures!
- Tap “Select” in the top right corner and choose the photos you want to recover.
- Tap “Recover” at the bottom right corner. Your photos will be restored to their original albums.
2. iCloud Photo Library
If you have iCloud Photo Library enabled, your photos are automatically uploaded to the cloud. This offers another chance at recovery, even if they’re missing from your iPhone.
- Head to iCloud.com on a web browser.
- Sign in with your Apple ID and password.
- Click on “Photos.”
- Navigate to the “Recently Deleted” album within Photos.
- Select the photos you want to recover and click “Recover.” They’ll be restored to your iPhone and all your iCloud-connected devices.
3. Third-Party Data Recovery Tools
If the built-in options fail, consider enlisting the help of third-party data recovery software. These specialized tools scan your iPhone’s internal storage and iCloud backup for traces of deleted data, including photos. However, remember:
- These tools vary in effectiveness and price. Do your research and choose a reputable one.
- Recovery success depends on several factors, like the extent of data loss and phone model.
- Always back up your iPhone before using any data recovery software.
4. Dig Into Backup Folders
If you regularly back up your iPhone, be it via iCloud or iTunes, this might be your photo redemption key.
- For iCloud backups:
- Go to Settings > General > iPhone Transfer or Reset > Erase All Content and Settings.
- During the setup process, choose “Restore from iCloud Backup” and select the relevant backup containing your photos.
- For iTunes backups:
- Connect your iPhone to your computer and run iTunes.
- Choose your iPhone under Devices and click “Restore Backup.” Select the backup containing your photos and proceed with the restoration.
5. Embrace the Power of Google Photos (if applicable)
If you previously used Google Photos on your iPhone and enabled automatic backup, you might find your missing photos there.
- Open the Google Photos app on your iPhone or access photos.google.com on a web browser.
- Sign in with the Google account you used for backup.
- Check the “Library” and explore the “Archive” section if needed.
- Download any photos you find and want to recover back to your iPhone.
Bonus Tip: Before jumping into recovery attempts, check if the “Hidden” album is causing confusion. Photos might inadvertently be hidden there. Simply tap “Select” in the Photos app and choose “Show Hidden” to check.
Remember, the sooner you act, the higher the chances of photo resurrection. So, stay calm, follow these steps diligently, and hopefully, you’ll be reunited with your precious memories in no time. After all, no photo should be relegated to the digital graveyard!