

Upgrading to a new iPhone is an exciting adventure, but the prospect of transferring your entire digital life can feel daunting. Thankfully, such things are now made easy with the availability of data transfer tools.
This comprehensive guide will equip you with the knowledge and tools to seamlessly migrate all your precious data from your old iPhone to your new one, ensuring a smooth transition and leaving you ready to embrace the possibilities of your upgraded device.
So, grab your iPhones, buckle up, and get ready to embark on a data migration adventure!
1. Backing Up Your Old iPhone: The Essential First Step
Before embarking on your data journey, it’s crucial to create a reliable backup of your old iPhone. This serves as a safety net, ensuring you won’t lose anything if the transfer process encounters hiccups. Two main avenues are at your disposal:
A. iCloud Backup:
iCloud Backup is a feature of Apple’s iCloud service that creates a secure, online copy of your iPhone, iPad, or iPod touch data. It serves as a safeguard for your valuable information in case of device loss, damage, or if you need to set up a new device. Here’s how it’s done:
- Connect your iPhone to Wi-Fi and plug it into a power source.
- Head to Settings > Your Apple ID > iCloud > iCloud Backup.
- Tap “Back Up Now” and wait patiently for the process to complete.
Remember, iCloud storage space is limited, so ensure you have enough free space before initiating the backup.
B. iTunes Backup:
An iTunes backup is a type of backup created for iPhones, iPads, and iPod touches using the iTunes software on a computer. Unlike iCloud backups, which are stored in the cloud, iTunes backups are stored locally on your computer. This means they are generally faster to restore from, but they also take up more storage space on your computer.
Here’s how it’s done:
- Connect your iPhone to your computer using a lightning cable.
- Open iTunes (or Finder on macOS Catalina and later).
- Select your iPhone icon in the top left corner.
- Click the “Back Up Now” button in the “Backups” section.
iTunes backups offer greater flexibility, allowing you to choose specific data types to include and exclude.
2. Choose Your Transfer Method: Cloud or Direct?
Now that your data is safely secured, it’s time to choose your migration method. Two options await:
A. Quick Start via iCloud
- Turn on your new iPhone and place it near your old iPhone unlocked.
- Follow the on-screen instructions on both devices.
- When prompted, use your old iPhone’s camera to scan an animation displayed on your new iPhone.
- Enter your Apple ID and password on your new iPhone.
- Choose “Transfer from iPhone” and wait for the data to be downloaded.
This method is ideal for a speedy and wireless transfer, but it requires iCloud storage space and both iPhones to be near each other.
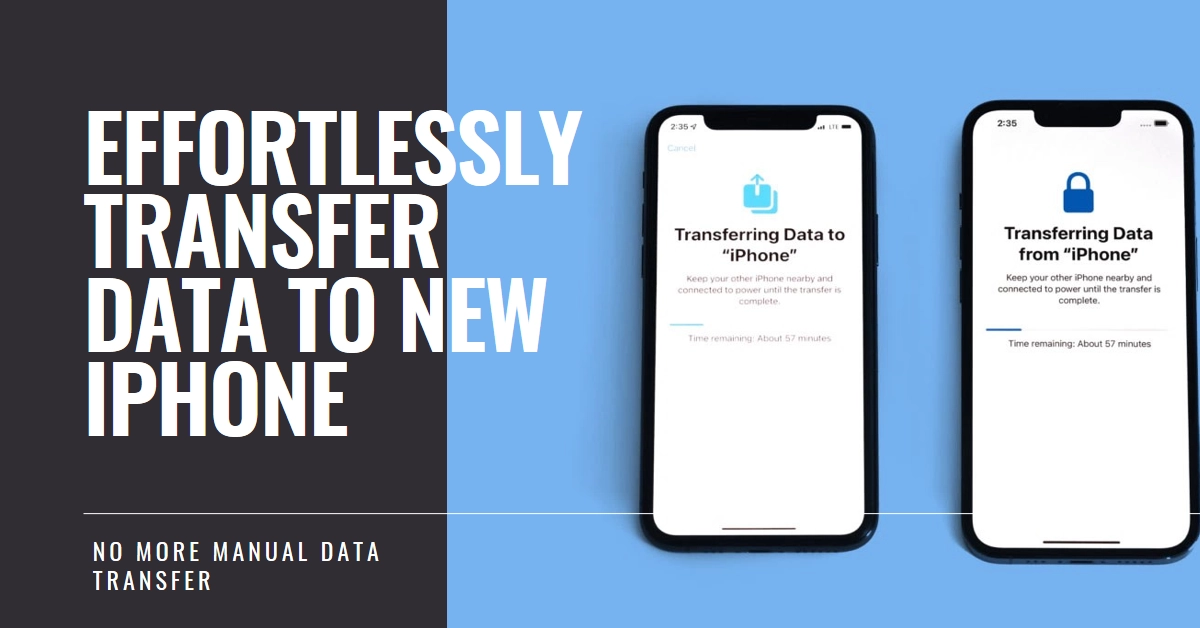
B. Direct Transfer
- Turn on both iPhones and place them near each other unlocked.
- Follow the on-screen instructions on both devices.
- Tap “Transfer Data Directly” on your new iPhone.
- Enter a temporary passcode displayed on your new iPhone into your old iPhone.
- The iPhones will pair, and data transfer will begin. Keep both devices connected until the process is complete.
This method is faster than iCloud transfer and doesn’t require iCloud storage, but it requires both iPhones to be physically close and takes longer than Quick Start.
3. Fine-Tuning Your New iPhone: Post-Transfer Tweaks
Once the data transfer is complete, you can personalize your new iPhone experience:
A. App Downloads
Apps installed on your old iPhone will automatically download onto your new one. Check the “App Store” app for any missing apps or updates.
B. Photos and Videos
Photos and videos backed up to iCloud will appear automatically on your new iPhone. If you used iTunes backup, you can import them manually from your computer.
C. Account Logins
Some apps may require you to log in again with your credentials. Don’t panic! This is normal, and your saved passwords in iCloud Keychain will make it a breeze.
D. Customize Settings
Dive into Settings to personalize your new iPhone’s experience. Adjust wallpapers, ringtones, notifications, and other preferences to make it your own.
Troubleshooting Common Transfer Issues
If you encounter any issues during the transfer process, don’t panic! Here are some troubleshooting tips:
- Restart both iPhones: This often resolves minor glitches.
- Check your Wi-Fi connection: Ensure both iPhones are connected to a stable Wi-Fi network.
- Free up storage space: If your new iPhone is running low on storage, delete unnecessary files or upgrade your iCloud storage plan.
Remember, patience is key! Data transfer can take some time, so sit back, relax, and enjoy the anticipation of exploring your new iPhone.