

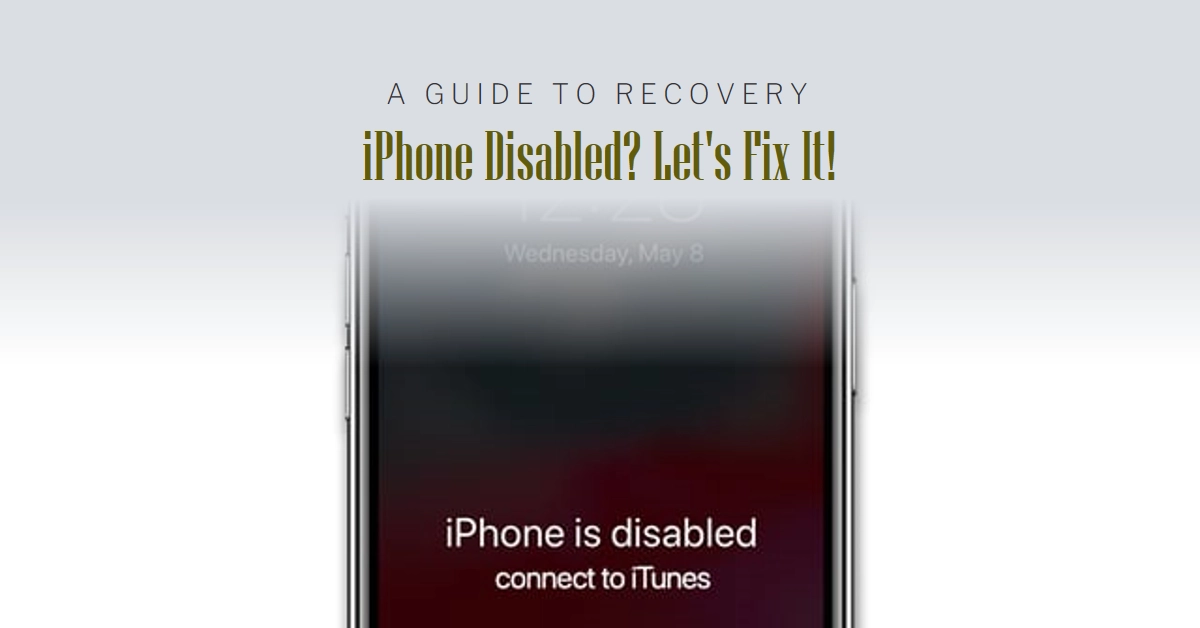
The dreaded “iPhone Disabled. Connect to iTunes” message can send shivers down anyone’s spine. It’s a digital roadblock, leaving you locked out of your precious device and all its data. But fear not, for this guide will be your compass through the maze of troubleshooting and recovery.
We’ll delve into the causes of this error, explore various solutions, and equip you with the knowledge to reclaim your iPhone and your peace of mind.
Understanding the Causes
There are several potential culprits behind this dreaded error message:
- Too many incorrect passcode attempts: This is the most common reason. After exceeding Apple’s security threshold (usually 10 attempts), your iPhone disables itself as a safeguard.
- Software glitches or updates: Occasional bugs or incomplete software updates can sometimes trigger the “Disabled” state.
- Hardware issues: While less frequent, faulty buttons or internal components could lead to this error as well.
Regardless of the cause, the consequence remains the same: a disabled iPhone that screams for iTunes’ intervention.
The Recovery Options
Don’t despair, even if your iPhone seems like a digital fortress. Here are your options for regaining access
1. iTunes: The Official Solution (Potential Data Loss)
This method utilizes iTunes to perform a factory reset, erasing all data on your iPhone and bringing it back to its initial state. It’s the most straightforward option, but be warned: data loss is highly likely unless you have a recent backup.
Before proceeding, ensure:
- You have the latest version of iTunes installed.
- You have a trusted computer with iTunes authorization.
- (Optional) You have a recent iCloud or iTunes backup.
Steps:
- Put your iPhone in recovery mode:
- iPhone 8 or later: Press and quickly release the Volume Up and Volume Down buttons, then hold the Side button until the Apple logo appears.
- iPhone 7: Hold the Power and Volume Down buttons simultaneously until the Apple logo appears.
- iPhone 6S and earlier: Hold the Home and Power buttons simultaneously until the Apple logo appears.
- Connect your iPhone to the authorized computer with iTunes.
- iTunes should automatically detect your iPhone in recovery mode. If not, manually select your iPhone from the iTunes menu.
- Click “Restore iPhone.”
- Confirm the restore process.
- iTunes will download the latest iOS software and restore your iPhone to factory settings.
2. iCloud: Remote Recovery (Data Retention, Requires Find My iPhone)
This method remotely erases your iPhone and restores it from your iCloud backup, potentially saving your data. However, it requires Find My iPhone to be enabled beforehand.
Steps:
- Go to iCloud.com on any web browser.
- Sign in with your Apple ID and password.
- Click “Find iPhone.”
- Select your iPhone from the list of devices.
- Click “Erase iPhone.”
- Confirm the erase process.
- After erasing, your iPhone will automatically restore from the latest iCloud backup.
3. Third-Party Tools (Data Recovery, Advanced Users)
Advanced users can explore third-party software like Tenorshare ReiBoot or Dr.Fone to attempt data recovery and unlock without iTunes or iCloud. However, these tools often have limitations and may not be successful in all cases.
Additional Tips:
- Act fast: The sooner you address the issue, the higher your chances of data recovery.
- Back up regularly: This habit can save your day in the future.
- Update software: Keep your iPhone and iTunes updated to minimize software-related issues.
- Seek support: If none of these methods work, contact Apple Support for further assistance.
Remember, seeing “iPhone Disabled. Connect to iTunes” doesn’t have to be a permanent nightmare. By understanding the causes, exploring the available recovery options, and following the steps outlined above, you can reclaim your iPhone and restore your precious data.
Note: This article provides general troubleshooting guidance. Specific instructions and success rates may vary depending on your iPhone model, iOS version, and individual circumstances. Always consult official Apple documentation or contact Apple Support for the most up-to-date information and personalized assistance.
I hope this comprehensive guide empowers you to navigate the “iPhone Disabled. Connect to iTunes” situation with confidence and successfully restore your device.