

Facing an iPhone that stubbornly refuses to charge can be frustrating, especially when you need it most. The good news is that in many cases, the culprit behind a charging issue is relatively simple and can be resolved without technical expertise.
This guide will walk you through a series of troubleshooting steps, from the most basic to more advanced, to help you get your iPhone back to power in no time.
Common Reasons Why Your iPhone Won’t Charge
There are several potential culprits behind your iPhone’s charging woes. Here’s a breakdown of the most common reasons:
a. Hardware Issues
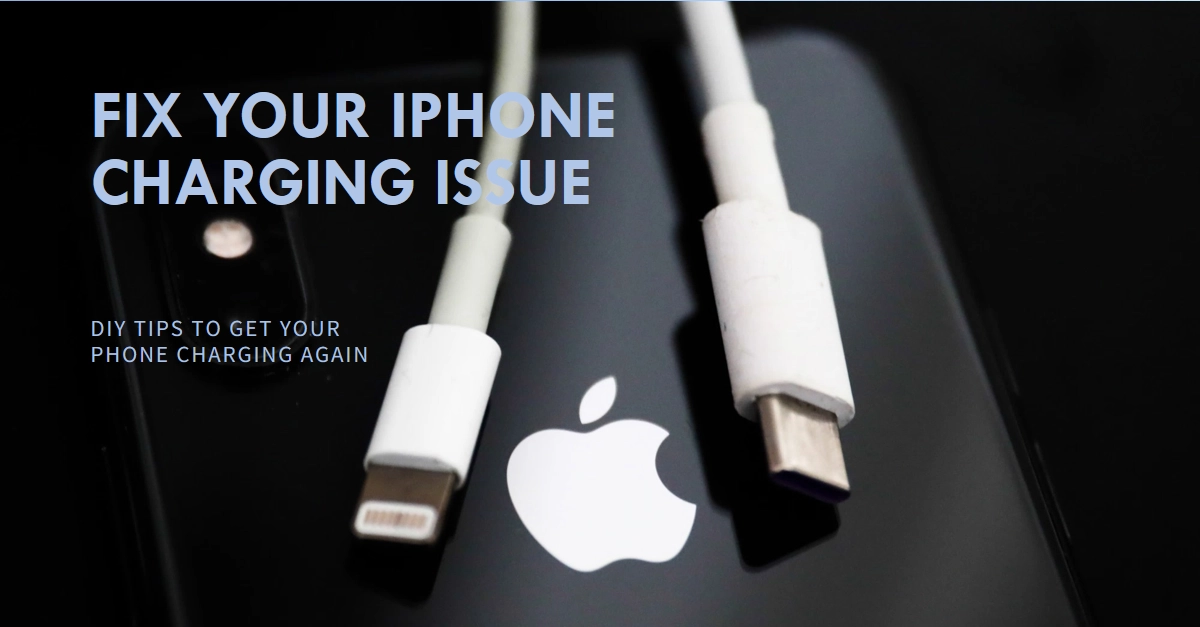
- Faulty cable or adapter: This is the most frequent suspect. Examine your cable for fraying, loose connections, or discoloration. Try a different cable and adapter, preferably genuine Apple ones, to isolate the problem.
- Dirty charging port: Dust, lint, or debris can accumulate in the port, hindering connection. Gently clean it with a toothpick or compressed air (avoid sharp objects!).
- Damaged charging port: Physical damage to the port’s pins can prevent charging. This might require professional repair.
- Wireless charging issues: If using wireless charging:
- Ensure your iPhone model supports it.
- Verify you’re using a Qi-compatible charger.
- Check for proper placement on the charging pad.
b. Software Glitches
- Minor software bugs: These can sometimes disrupt charging. Try a force restart specific to your iPhone model.
- Outdated iOS: Outdated software can introduce charging problems. Update to the latest iOS version.
- Software settings:
- Optimized Battery Charging: While beneficial for long-term battery health, it can limit charging to 80%. Disable it temporarily if needed (Settings > Battery > Battery Health).
- Airplane Mode: Ensure it’s disabled, as it can interfere with wireless charging.
Other Potential Causes
- Incompatible power source: Try charging from different outlets and power banks to rule out issues with a specific source.
- Network interference: In rare cases, network settings might affect charging. Reset network settings (Settings > General > Reset > Reset Network Settings).
Troubleshooting Steps
Performing the following steps will help eliminate common factors that may be halting your iPhone from charging properly. Try these before taking a trip to the nearest Apple genius bar in your place.
Important Note: Actual steps and menu options may vary between device models, software versions and carriers. Make sure that your phone is running the latest available iOS version to ensure all key features and options are accessible.
1. Inspect the Basics
- Confirm your iPhone is powered off: While it may seem obvious, sometimes iPhones can appear off when they’re actually in a low-power state. Try a hard reset (press and hold both Power and Volume Down buttons for several seconds until the Apple logo appears) to fully reboot your device.
- Examine the charging cable and adapter: Look for visible signs of damage, such as fraying wires, loose connections, or burn marks. Try a different cable and adapter, preferably Apple-certified ones, to rule out hardware issues.
- Test different power outlets: Sometimes, the problem might lie with the wall socket itself. Connect your iPhone to another outlet or a power bank to see if it charges from an alternate source.
2. Clean the Lightning Port
- Debris or lint buildup in the Lightning port can hinder charging. Use a can of compressed air, a soft toothbrush, or a toothpick (carefully and gently) to remove any visible dirt or dust. Avoid inserting sharp objects that could damage the port.
3. Check Software Updates and Settings
- Update to the latest iOS version: Software bugs can sometimes interfere with charging. Ensure you have the latest iOS update installed by going to Settings > General > Software Update.
- Disable Optimized Battery Charging: This feature aims to preserve battery health by limiting charging to 80%, but it might cause confusion. Go to Settings > Battery > Battery Health and toggle off Optimized Battery Charging if you need immediate full charge.
- Force-quit background apps: Running too many apps in the background can drain the battery and affect charging. Swipe up from the bottom of the screen (iPhone with Home button) or double-tap the Home button (iPhone X and later) to access the App Switcher. Swipe up on each app card to close them.
4. Advanced Troubleshooting
- Reset Network Settings: This can sometimes resolve charging issues related to network connectivity. Go to Settings > General > Transfer or Reset iPhone > Reset Network Settings. Note that this will erase saved Wi-Fi passwords and other network settings.
- Restore your iPhone: If none of the above steps work, consider restoring your iPhone to factory settings. This will erase all data and settings, so back up your device beforehand. Go to Settings > General > Transfer or Reset iPhone > Erase All Content and Settings.
- Seek professional help: If you’ve exhausted all the troubleshooting steps and your iPhone still won’t charge, it’s best to consult an Apple-authorized service provider or visit an Apple Store for further diagnosis and repair.
Additional Tips:
- Always use genuine Apple-certified charging cables and adapters to ensure safety and optimal performance.
- Avoid extreme temperatures, as both heat and cold can damage your iPhone’s battery and affect charging.
- Clean your iPhone’s Lightning port regularly to prevent debris buildup.
- Consider investing in a wireless charger for a convenient and hassle-free charging experience (available for iPhone 8 and later models).
Remember:
- This guide focuses on DIY solutions. If the issue persists, consult Apple Support or an authorized service provider.
- Regularly maintaining your charging equipment and updating your software can help prevent future charging problems.
By following these steps and keeping these tips in mind, you’ll be well-equipped to troubleshoot and resolve most iPhone charging issues. Remember, if you’re unsure about any step or suspect hardware damage, always seek professional help to avoid further complications.