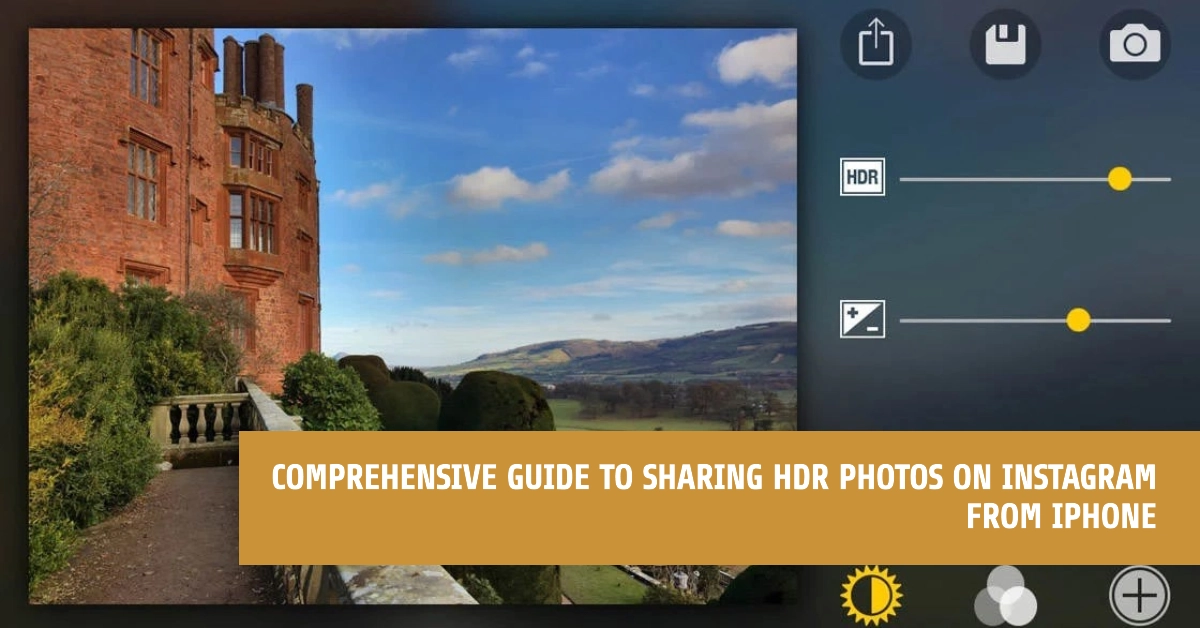
High Dynamic Range (HDR) photography is a technique that captures a wider range of light and dark tones in your photos. This results in images with richer detail in both shadows and highlights, producing stunning and realistic results.
iPhones have excellent HDR capabilities, and sharing these visually striking photos on Instagram is a great way to showcase your photography skills.
This guide will delve into how to capture the best HDR photos on your iPhone and seamlessly share them on Instagram for maximum impact.
Understanding HDR on Your iPhone
- HDR Mode: Your iPhone’s camera features a dedicated HDR mode that automatically blends multiple exposures into a single image. This mode helps preserve detail in challenging lighting conditions, such as when you’re shooting against a bright background.
- Smart HDR: Newer iPhone models have Smart HDR, which is always active by default. Smart HDR intelligently enhances your photos in real-time, subtly adjusting the dynamic range for more balanced and natural-looking results.
Capturing HDR Photos
Step 1: Enabling HDR Settings
- Go to your iPhone’s “Settings” app.
- Tap “Camera.”
- Toggle on “Smart HDR” (or “HDR” on older devices) to ensure it’s always active.
Step 2: Taking the Photo
- Open your iPhone’s Camera app.
- If you see the “HDR” icon at the top of the screen in yellow, it’s enabled. If not, tap the “HDR” icon to activate it.
- Frame your shot and tap the shutter button to take your HDR photo.
Sharing HDR Photos to Instagram
Step 1: Find Your HDR Photo
- Open the “Photos” app on your iPhone.
- Locate the HDR photo you want to share. Note: HDR photos might not have a special label to distinguish them in the Photos app.
Step 2: Share to Instagram
- Tap on the image to view it.
- Tap the “Share” icon (a square with an upward arrow).
- Select “Instagram” from the list of sharing options.
Step 3: Edit and Share
- Instagram’s editing tools allow you to further refine your HDR photo.
- Experiment with filters, adjust brightness, or enhance specific areas before posting.
- Add a captivating caption and relevant hashtags.
- Tap “Share” to post your HDR masterpiece on Instagram.
FAQs
1. How do I know if my iPhone takes HDR photos?
- If you have a newer iPhone model, Smart HDR is likely enabled by default. Check your Camera settings for a “Smart HDR” toggle.
- On older models, look for an “HDR” option within your Camera settings or a yellow “HDR” icon at the top of your camera screen.
2. Can I edit HDR photos before sharing them on Instagram?
- Yes! Both the iPhone’s Photos app and Instagram offer editing tools. Adjust elements like brightness, contrast, filters, and more to refine your HDR image.
3. Do HDR photos look different on Instagram than on my iPhone?
- It’s possible they might have slight variances. Instagram may apply some compression to images during the upload process. However, HDR photos should still maintain a more dynamic range compared to standard photos.
4. Are there any situations where I shouldn’t use HDR?
- HDR works best in high-contrast scenes. If your photo is already well-exposed, HDR might not make a significant difference. Also, be cautious with moving subjects, as HDR’s multiple-exposure process can sometimes introduce blur.
5. Will my followers be able to tell if my photo is HDR?
- Not necessarily. Instagram doesn’t specifically label HDR photos. However, viewers familiar with photography may notice the enhanced dynamic range and richer detail characteristic of HDR images.

